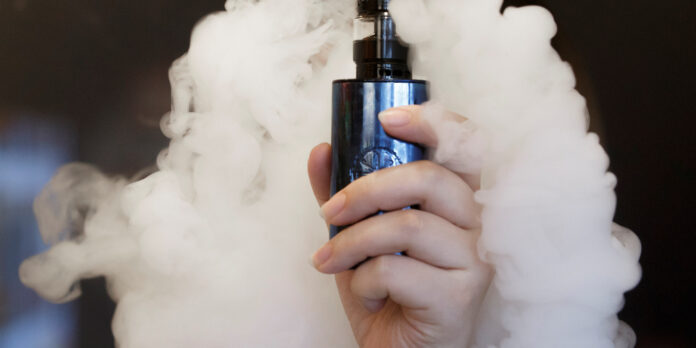
If you’re a smoker trying to quit, vaping can be a great alternative. It’s significantly healthier for you than cigarettes and can be much cheaper in the long run. However, like any piece of technology, vapes can break down and need to be fixed from time to time. In this blog post, we’ll show you how to fix a Uwell Crown vape so you can get back to enjoying your smoke-free lifestyle.
Troubleshooting Your Vape
Before we get into how to fix a vape, let’s go over some basic troubleshooting tips that might help you solve the problem without having to take it apart.
First, make sure that your vape is charged. Often, people think their vape is broken when it’s just out of juice. So plug it in overnight and see if that solves the problem.
If your vape is still not working after it’s been charged, try blowing it into the cartridge. Sometimes there can be dust or debris build-up inside that prevents the flow of electricity.
If those two things don’t work, it’s time to look at the atomizer. The atomizer is what heats the liquid inside of the cartridge and turns it into vapor. Over time, the coils inside the atomizer can burn out, preventing your vape from working correctly.
Fix a Broken Cartridge
If you’re trying to use a cartridge and all you get is a burning taste, the cartridge is likely either clogged or broken. To fix a clogged cartridge, start by blowing into the mouthpiece to clear out any debris that might be blocking the airflow. If that doesn’t work, try soaking the cartridge in warm water for 5-10 minutes. This will help loosen any hardened residue that might be clogging it. If neither of these methods works, your only option is to replace the cartridge.
To fix a broken cartridge, start by removing the mouthpiece and looking at the heating element. If it’s cracked or damaged in any way, it will need to be replaced. If not, reattach the mouthpiece and try using the vape again. If it still isn’t working, there may be an issue with the battery connection. Try cleaning the contact points with a cotton swab dipped in rubbing alcohol and then reattaching the cartridge. This should do the trick!
Fix a Leaking Tank
If your vape tank is leaking, you’ll first want to check the O-rings (the rubber seals) to see if they’re damaged or missing entirely. These O-rings are what keep your liquid from spilling out, so if they’re damaged! Fortunately, O-rings are inexpensive and easy to find; just head to your local vaping shop or order them online. Once you have your new O-rings, simply remove the old ones and replace them with new ones. This should stop your tank from leaking.
In some cases, a leaking tank may be caused by overfilling it. When this happens, liquid can seep through the airflow holes and cause leaks.
Replacing the Atomizer
If you’ve determined that your atomizer is the problem, don’t worry. Replacing it is a relatively simple process. First, unscrew the atomizer from the battery. Second, unscrew the base of the atomizer (the part that holds the coil) and remove the old coil. Third, screw in the new coil and reattach the base of the atomizer. Fourth, screw the atomizer back onto the battery, and voila! You should now have a working vape again.
Conclusion
We hope these tips on how to fix a vape were helpful! Remember – before you try any repairs on your own, always consult your product’s manual first. And if you’re ever unsure about something, don’t hesitate to contact a professional for assistance. With these tips in mind, you should be able to keep your vape working correctly for years to come.


